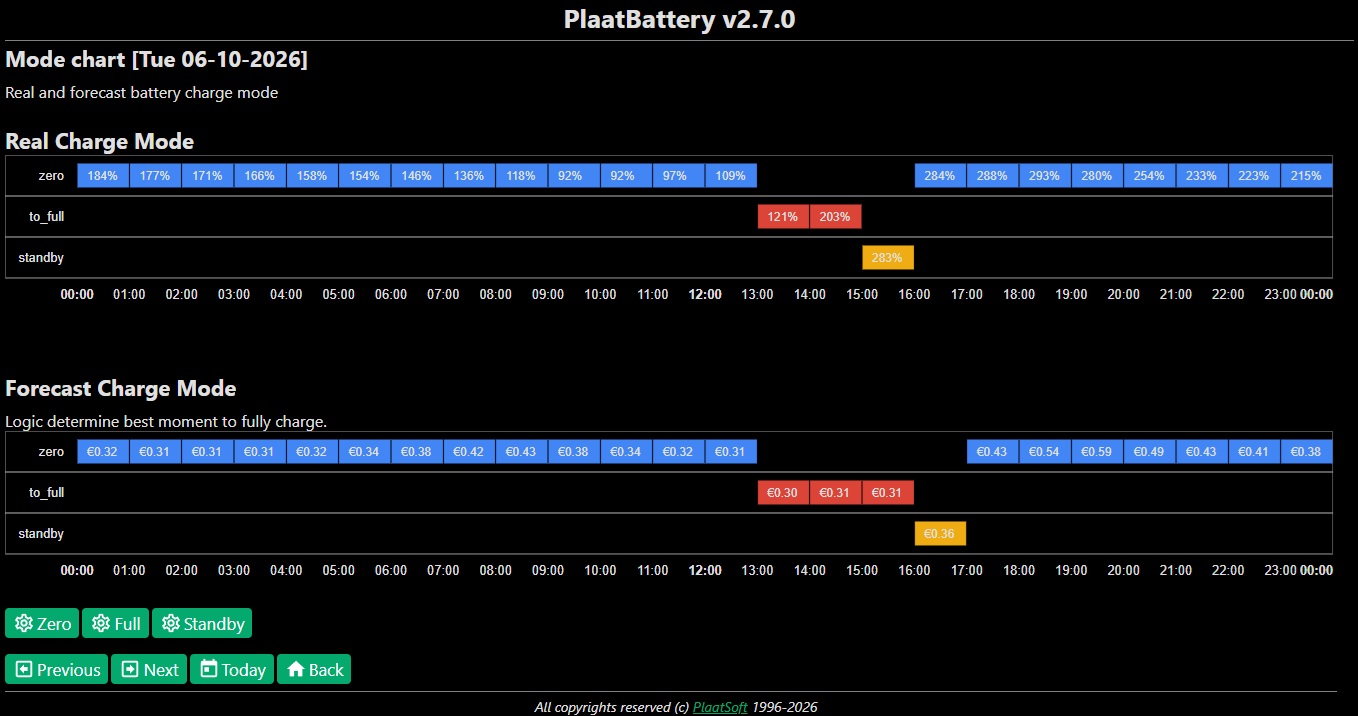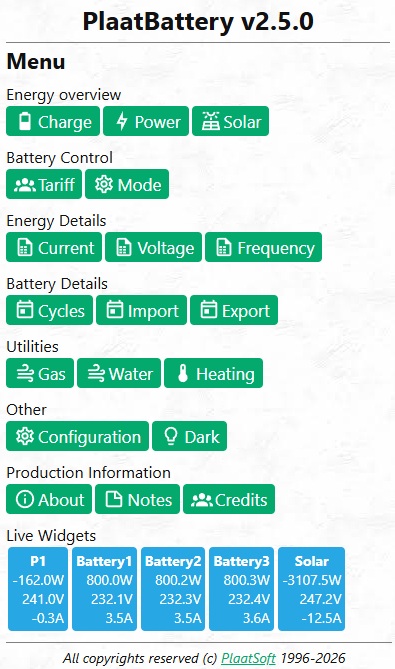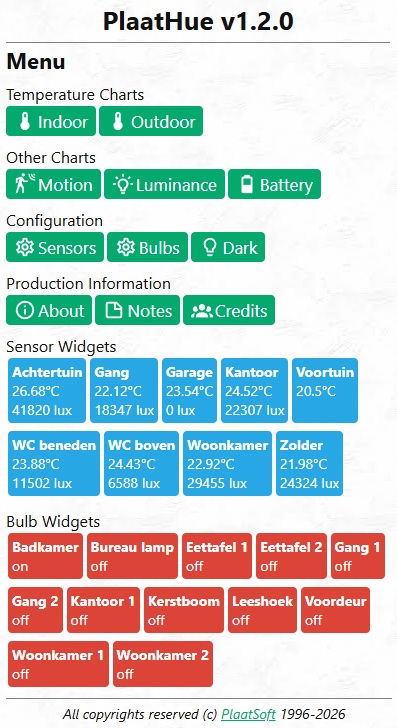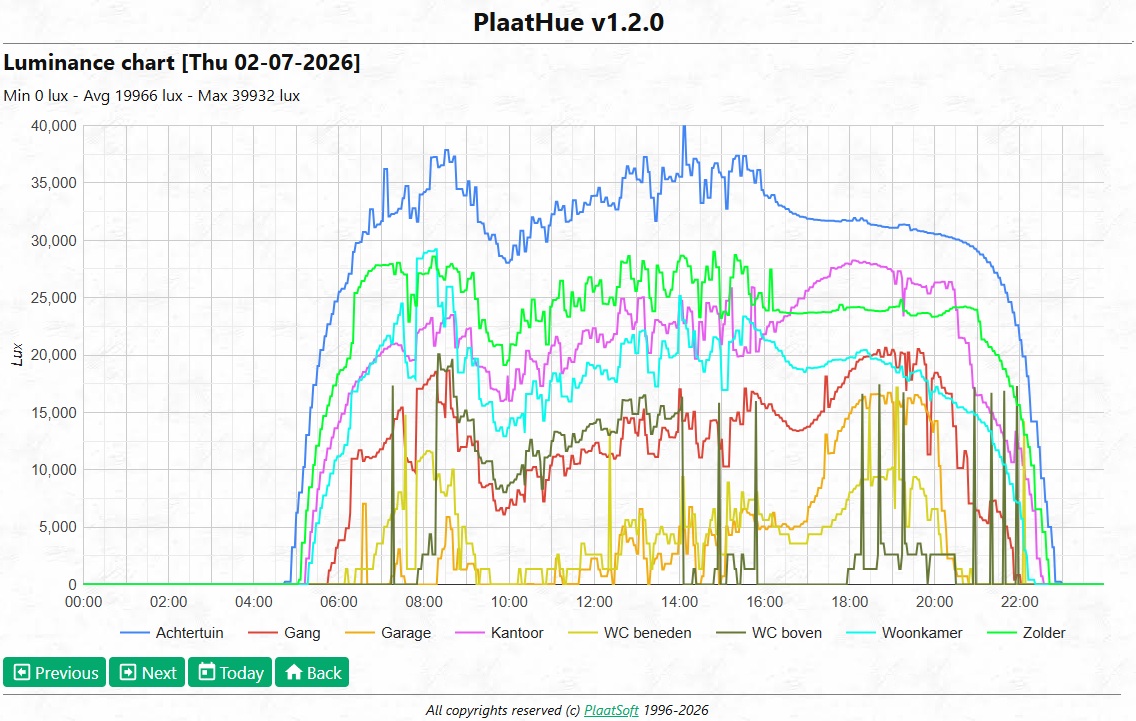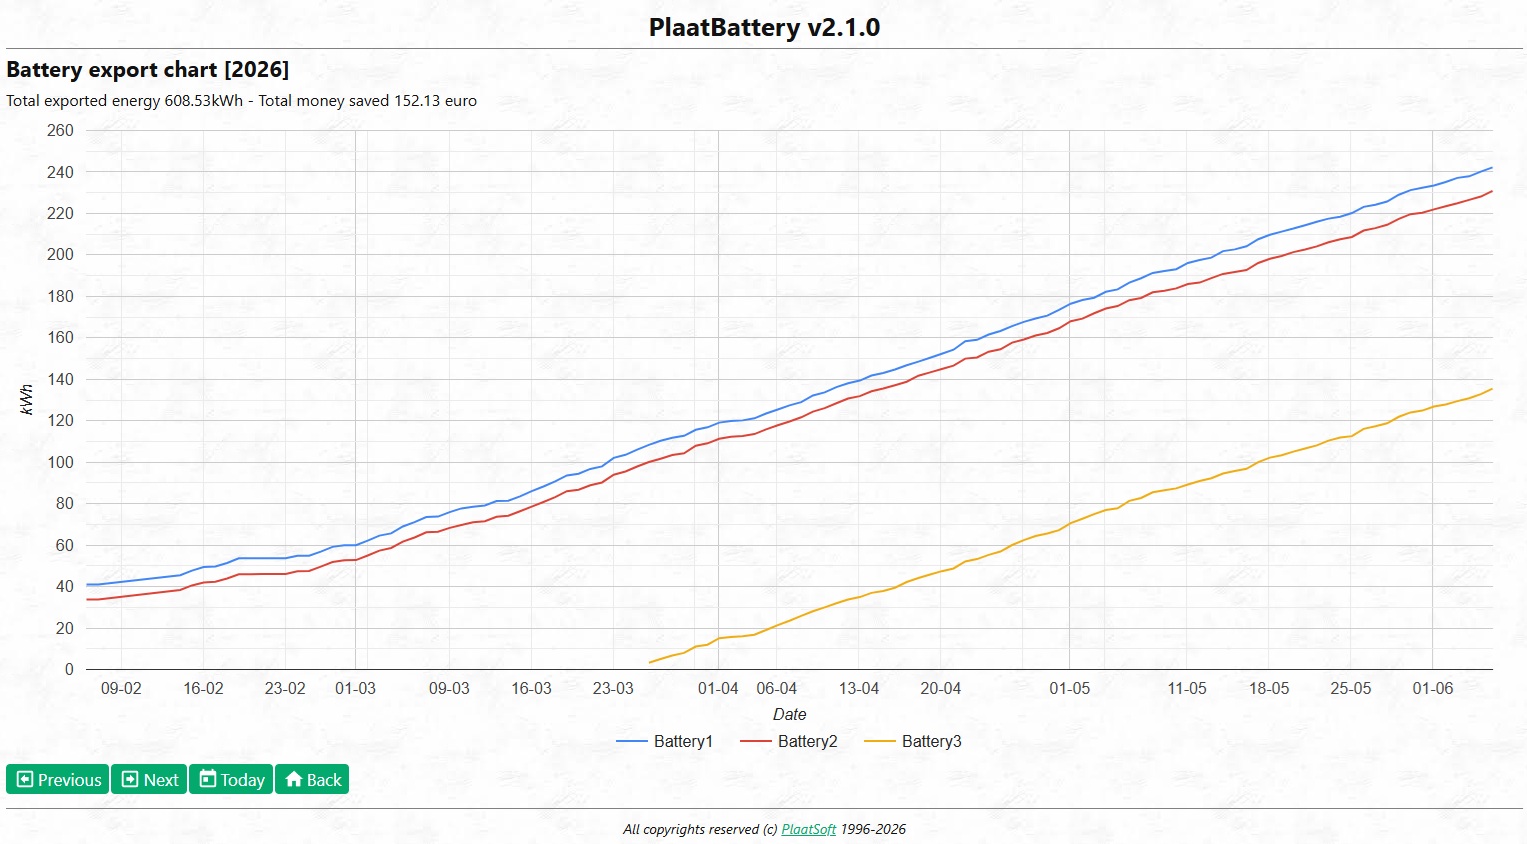
PlaatSoft has released a next version of PlaatBattery.
Version 1.10.0 (29-05-2026)
- Adding Solax support
- Adding Fuseki compact logic
- Hide swagger API’s which are only used my developers
More information click here
PlaatSoft is a christian non profit organisation
PlaatSoft has released a next version of PlaatBattery.
Version 1.10.0 (29-05-2026)
More information click here
PlaatSoft has released a next version of PlaatBattery.
Version 1.9.0 (28-05-2026)
More information click here
PlaatSoft has released a next version of PlaatBattery.
Version 1.8.0 (22-05-2026)
More information click here
PlaatSoft has released a next version of PlaatBattery.
Version 1.7.0 (20-05-2026)
More information click here
PlaatSoft has released a next version of PlaatBattery.
Version 1.6.0 (17-05-2026)
Redesigned Battery Mode Chart page

More information click here
PlaatSoft has released a next version of PlaatBattery.
Version 1.5.0 (16-05-2026)
More information click here
Today i have installed “PiHole” on a Raspberry Pi and changed my Internet Provider DNS IP address to PiHole. Within 30 minutes everything was up and running. Now all the DNS requests are locally cached and bad DNS requests (for example to Ads providers) are blocked. So now i can browser without ads. Life is beautifull again! 🙂
PlaatSoft has released a next version of PlaatBattery.
Version 1.4.0 (03-05-2026)
More information click here
PlaatSoft has released a next version of PlaatBattery.
Version 1.3.0 (25-03-2026)
More information click here
PlaatSoft has released a next version of PlaatBattery.
Version 1.2.0 (15-02-2026)
More information click here
PlaatSoft has released a next version of PlaatBattery.
Version 1.1.0 (08-02-2026)
More information click here
PlaatSoft has released a first version of PlaatBattery.
Version 1.0.0 (25-01-2026)
More information click here
# Install Docker
sudo apt install docker.io docker-compose -y
# Install Fuseki
sudo docker pull secoresearch/fuseki:latest
sudo docker run -d –name fuseki –restart unless-stopped -p 3030:3030 -v fuseki-data:/fuseki -e ADMIN_PASSWORD=admin -e ENABLE_DATA_WRITE=true -e ENABLE_UPDATE=true -e ENABLE_SHACL=true -e QUERY_TIMEOUT=100000 secoresearch/fuseki:latest
# Remove Fuseki
sudo docker stop fuseki
sudo docker remove fuseki
# Control Fuseki
sudo docker ps
sudo docker start fuseki
sudo docker stop fuseki
# Show Fuseki logging
sudo docker logs -f fuseki
# Install SNAP
sudo apt-get install snap
# Upgrade SNAP
sudo snap install snapd
# Install kubernetes on master node
sudo snap install microk8s –classic
# Check kubernetes master node status
sudo snap run microk8s kubectl get all –all-namespaces
# Analyze failing pod
sudo snap run microk8s kubectl describe pod
sudo snap run microk8s kubectl describe pod calico-node-w75q9 -n kube-system
# Remove kubernetes on master node
sudo snap remove microk8s
sudo snap remove core20
PlaatSoft has released a new version of the BassieMusic Android App in the Google Play Store.
The following changes were made:
– Various changes to modernize the codebase
– Update the icon to have some more shadow
– Add themed monochrome icon
– Move some buttons around in the app bar
– Build for Android 16
Click here to download the latest version.
PREFIX ex:
PREFIX geo:
PREFIX owl:
PREFIX rdf:
PREFIX rdfs:
PREFIX xsd:
ex:Army rdf:type owl:Class;
rdfs:comment “A class representing army.”@en;
rdfs:label “Army” .
ex:hasArmy rdf:type owl:ObjectProperty;
rdfs:comment “The player has army.”@en , “The city has army.”@en;
rdfs:domain ex:Player , ex:City;
rdfs:label “has army”;
rdfs:range ex:Army .
ex:City rdf:type owl:Class;
rdfs:comment “A class representing city.”@en;
rdfs:label “City” .
ex:hasPlayer rdf:type owl:ObjectProperty;
rdfs:comment “The army has player.”@en;
rdfs:domain ex:Army;
rdfs:label “has player”;
rdfs:range ex:Player .
ex:hasCity rdf:type owl:ObjectProperty;
rdfs:comment “The army has city.”@en;
rdfs:domain ex:Army;
rdfs:label “has city”;
rdfs:range ex:City .
geo:hasGeom rdf:type owl:DatatypeProperty;
rdfs:comment “The city has geom.”@en;
rdfs:domain ex:City;
rdfs:label “has geom”;
rdfs:range geo:wktLiteral .
ex:hasConnection rdf:type owl:ObjectProperty;
rdfs:comment “The city has connection.”@en;
rdfs:domain ex:City;
rdfs:label “has connection”;
rdfs:range ex:City .
geo:hasCrs rdf:type owl:DatatypeProperty;
rdfs:comment “The city has crs.”@en;
rdfs:domain ex:City;
rdfs:label “has crs”;
rdfs:range
ex:hasName rdf:type owl:DatatypeProperty;
rdfs:comment “The army has name.”@en , “The player has name.”@en , “The city has name.”@en;
rdfs:domain ex:Army , ex:Player , ex:City;
rdfs:label “has name”;
rdfs:range xsd:string .
ex:hasProduction rdf:type owl:DatatypeProperty;
rdfs:comment “The city has production.”@en;
rdfs:domain ex:City;
rdfs:label “has production”;
rdfs:range xsd:integer .
ex:hasSize rdf:type owl:DatatypeProperty;
rdfs:comment “The army has size.”@en;
rdfs:domain ex:Army;
rdfs:label “has size”;
rdfs:range xsd:integer .
ex:Player rdf:type owl:Class;
rdfs:comment “A class representing player.”@en;
rdfs:label “Player” .
ex:hasEmail rdf:type owl:DatatypeProperty;
rdfs:comment “The player has email.”@en;
rdfs:domain ex:Player;
rdfs:label “has email”;
rdfs:range xsd:string .
# On windows start a console in Administrator mode
cmd
# Go to the JVM directory (For example)
cd C:\Program Files\Java\jdk1.8.0_351\jre\lib\security
# Add cert.crt to JVM
keytool -importcert -file cert.crt -keystore cacerts -storepass changeit -noprompt -alias alias
This evening i deployed a new Raspberry Pi with the following software:
– Debian 6.12.17-v8+ (64Bits)
– HaProxy 2.6.12
– Letsencrypt (Latest version)
This new Reverse Proxy node is replacing a very old Raspberry Pi which was running for more then 9 years.
Step 1:
Run the standard keytool to import the certificate to JVM
keytool -import -alias
When prompted Enter keystore password:, enter “changeit”
When prompted Trust this certificate? [no]:, enter “yes”
Step 2:
Start IntelliJ
On IntelliJ op goto Setting -> Tools -> Server Certificates
On the box Accepted certificates click the plus icon (+)
Search the certificate filename and click Apply and OK
# Basic installation of Jenkins latest LTS version
sudo wget -O /usr/share/keyrings/jenkins-keyring.asc https://pkg.jenkins.io/debian/jenkins.io-2023.key
echo “deb [signed-by=/usr/share/keyrings/jenkins-keyring.asc]” https://pkg.jenkins.io/debian binary/ | sudo tee /etc/apt/sources.list.d/jenkins.list > /dev/null
sudo apt-get update
sudo apt-get install fontconfig openjdk-17-jre
sudo apt-get install jenkins
sudo apt-get install maven
sudo apt-get install gradle
Now the Jenkins UI is available on port 8080
Answer some extra installation questions and wait for the installation to complete.
# Enable Maven in Jenkins
Goto Jenkins UI
Go to “Manage Jenkins” -> “Plugins” -> “Available Plugins” -> Select “Maven integration plugin”
Go to “Manage Jenkins” -> “Tool” -> “Maven installations”
Press “Add Maven”
Select “MAVEN_HOME”
Enter “/usr/share/maven”
Press “Save”
# Enable Gradle in Jenkins
Goto Jenkins UI
Go to “Manage Jenkins” -> “Plugins” -> “Installed Plugins” -> Select “Gradle plugin”
Press “Enable plugin”
Press “Save”
Restart Jenkins
Go to “Manage Jenkins” -> “Tools” -> “Gradle installations”
Press “Add Gradle”
Select “GRADLE_HOME”
Enter “/usr/share/gradle”
Press “Save”
# Create Project (Public GitHub REPO)
Goto Jenkins UI
Select “New Item”
Enter Project Name
Select “Maven Project”
Press “Ok”
Select “Source Code Management”
Select “GIT”
Enter by Repository URL the GIT URL
Press “Save”
Press “Build”
Now project will be build and all unit tests are automatic run.
# Create GitHub REPO Access key
Goto GitHub UI
Select “Setting” -> “Developer Settings”
Select “Personal access token” -> “Tokens (classic)”
Press “Generate new Token (Classic)”
Enter Name
Select “No expiration”
Select “all scopes”
Press “Generate Token”
Copy token key to clipboard
# Create jenkins Maven Project
Select “New Item”
Enter Project Name
Select “Maven Project”
Press “Ok”
Select “Source Code Management”
Select “GIT”
Enter by Repository URL the GIT URL
Select “Credentials” -> “Add” -> “Jenkins”
Select “Username with password”
Enter “Username” -> Its your Github username
Enter “Password” -> Copy token key from clipboard
Select “Threat username as secret”
Press “Save”
Press “Build”
Now project will be build and all unit tests are automatic run.
PlaatSoft has released a new version of PlaatDomotica.
Version 2.1.0 (20-10-2024)
More information click here
PlaatSoft has released a new version of PlaatDomotica.
Version 2.0.0 (13-10-2024)
More information click here
RDF Graph example (Query language: SPARQL)
As a framework for representing the Web, Resource Description Framework (RDF) captures structure using a triple, the basic unit in RDF. A triple is a statement with three elements: two nodes connected by an edge (also known as a relationship). Each triple is identified by a Uniform Resource Identifier (URI) as subject-predicate-object:
– The subject is a resource (node) in the graph;
– The predicate represents an edge (relationship)
– The object is another node or a literal value.
More information:
https://rdf4j.org/documentation/tutorials/getting-started/
Property Graph example (Query Language: Cypher)
Information is organized as nodes, relationships, and properties in a property graph. Nodes are tagged with one or more labels, identifying their role in the network. Nodes can also store any number of properties as key-value pairs. Relationships provide directed, named connections between two nodes. Relationships always have a direction, a type, a start node, and an end node, and they can have properties, just like nodes. Although relationships are always directed, they can be navigated efficiently in either direction.

What is the difference between SPARQL and Cypher Query Language?
– SPARQL is the query language for accessing data in the Resource description Framework (RDF) GRAPH database.
– Cypher is the corresponding language for the data represented in property GRAPH database
More information:
https://neo4j.com/blog/rdf-vs-property-graphs-knowledge-graphs/